Solarization is a lawn removal technique that uses sunlight to weaken or kill existing grass and weeds. Some methods trap heat beneath a covering, while others block sunlight to prevent plants from growing. The best time to use these methods is during warm, sunny months when the soil receives plenty of direct sunlight.
Before You Start
Decide on your desired outcome: Are you planning a vegetable garden, raised beds, a native plant bed, or a mulched landscape? Each method leaves the area in a different condition, so choose the one that best matches your plans.
Time it right: Solarization is most effective during the hottest months of the year. Letting the grass dry out before covering it can improve results, so stop watering about a month before you start. For example, skip watering in June for a July installation or in July for an August installation.
General Preparation
Mow or use a weed trimmer and cut the grass as low as possible
Leave grass clippings in place to add organic matter unless they contain a large number of weed seeds. If so, remove them before covering the area.
Stop watering the area about a month before solarization to help stress the existing grass. On the day you install your chosen method, water the soil deeply one final time. Moist soil helps transfer heat during solarization and supports decomposition.
For best results, plan to leave the materials in place for 6–8 weeks during the hottest part of the summer before removing them or planting.
Method 1: Plastic Sheeting
Materials & Cost
White or clear 6-mil plastic sheeting: About $80 per 10 ft × 100 ft roll
Landscape staples: About $16 per 75-pack
Bricks or rocks: Free if you already have them, or additional cost if purchased
*White or clear plastic works best, but black plastic can also be used.
Clear plastic generally heats the soil more effectively because sunlight passes through and is trapped beneath the plastic, creating higher soil temperatures.
Black plastic blocks sunlight and warms the soil, but it typically does not reach the same temperatures as clear plastic.
Time & Effort
About 20 minutes
Easiest and least labor-intensive method
Best For
Creating a blank slate for new in-ground planting beds
Steps
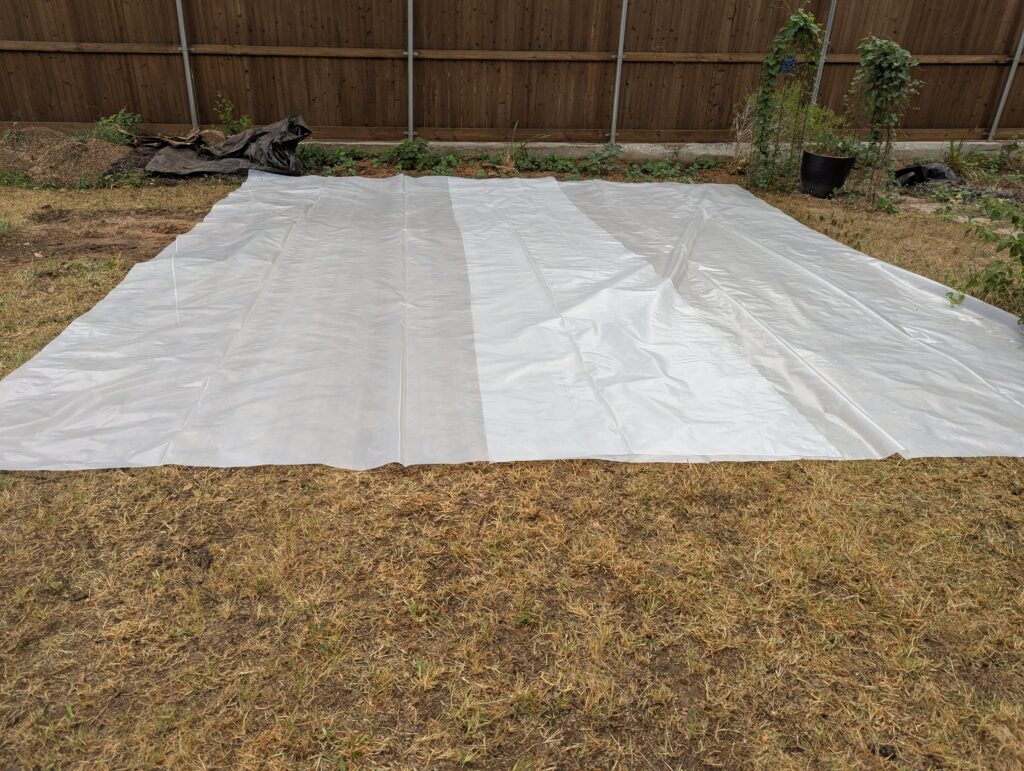
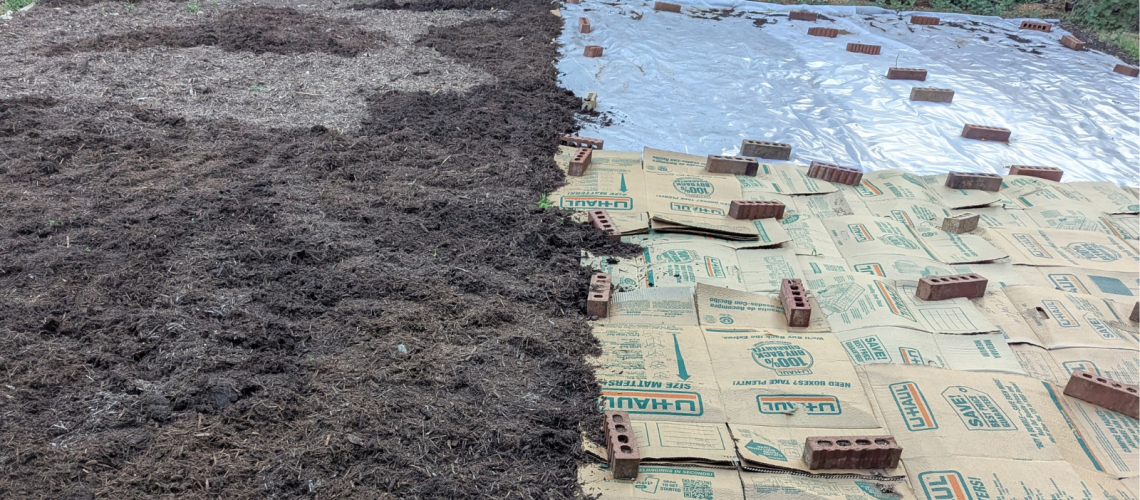
Roll the plastic over the area, keeping it flat and straight.
Overlap seams by at least 2–3 feet.
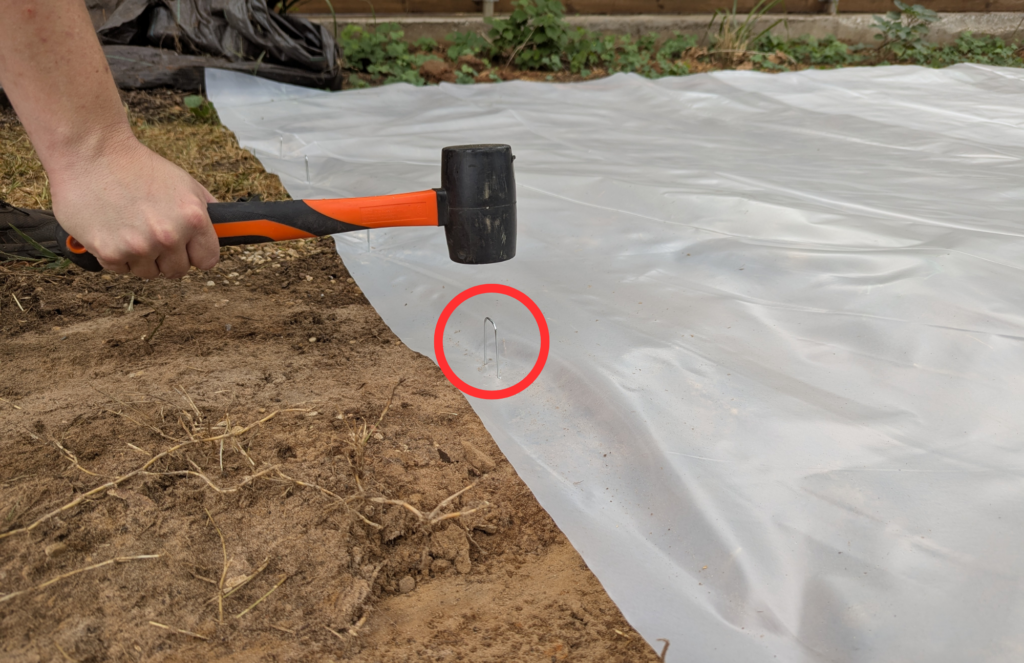
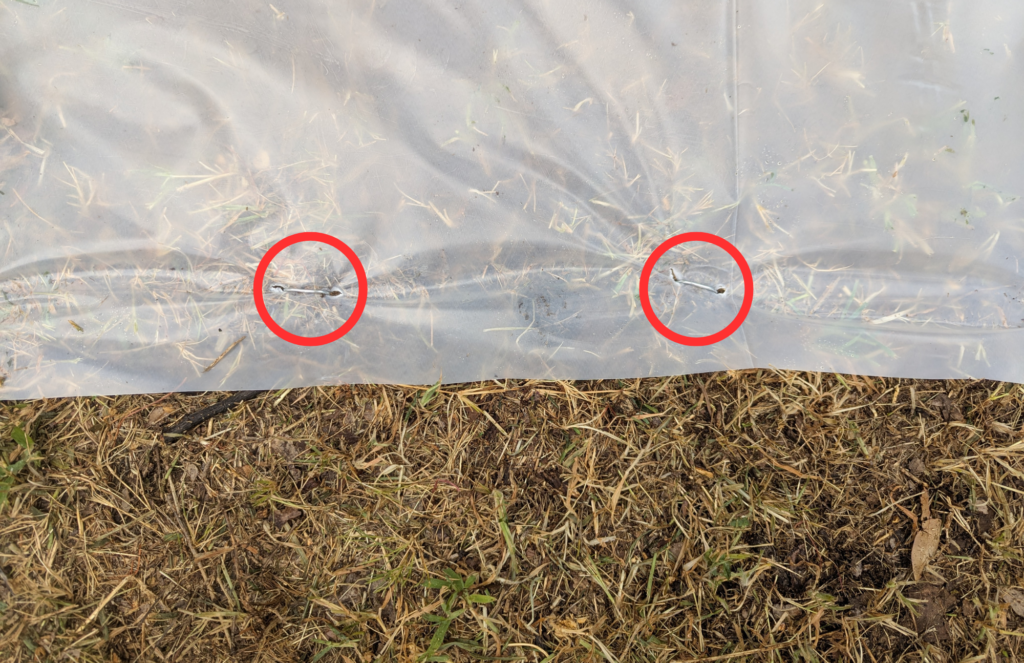
Secure edges with landscape staples or pins.
For aggressive grasses, such as Bermuda grass, dig a shallow trench 2–4 inches deep around the perimeter of the plastic. Place the edges of the plastic into the trench and cover them with soil to help prevent the grass from spreading.
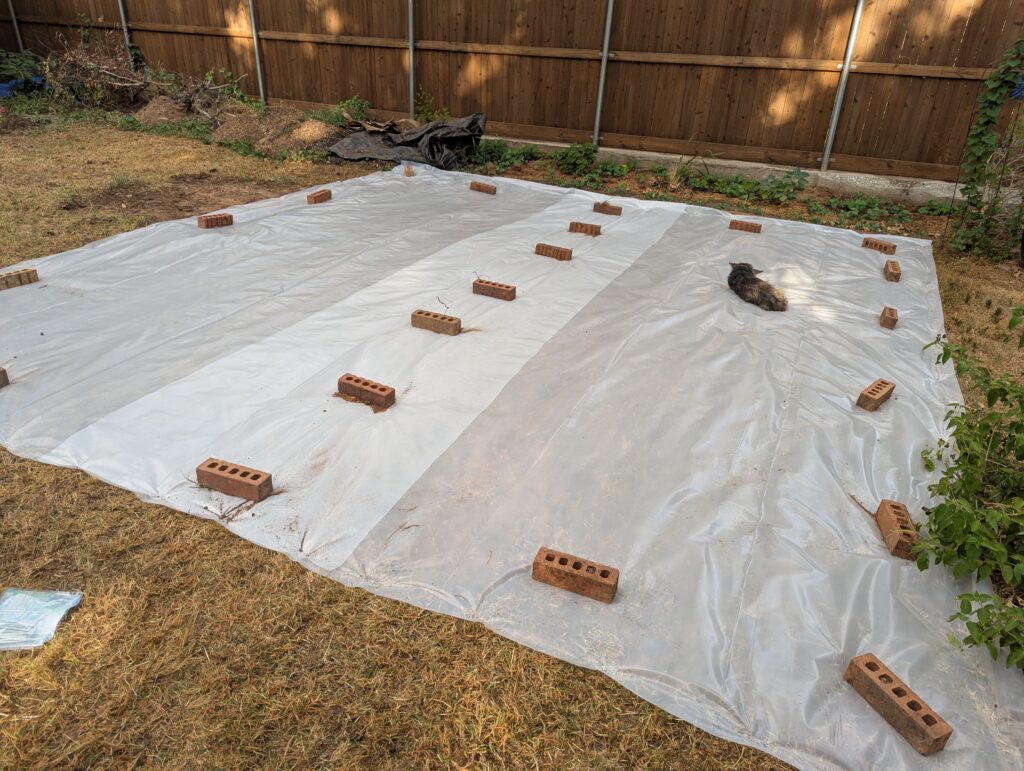
Place bricks or rocks along all edges and seams every 2–3 feet to prevent wind from lifting the plastic.
Pros
Quick and easy to install
Creates a clean planting surface
Cons
Higher cost than other methods, depending on mulch sourcing for following methods
Does not add significant organic matter beyond the decomposing vegetation underneath
Final Outcome
Leaves mostly bare ground with minimal added organic matter. Dead vegetation can be tilled into the soil or raked away before planting.
Method 2: Cardboard Only
Materials & Cost
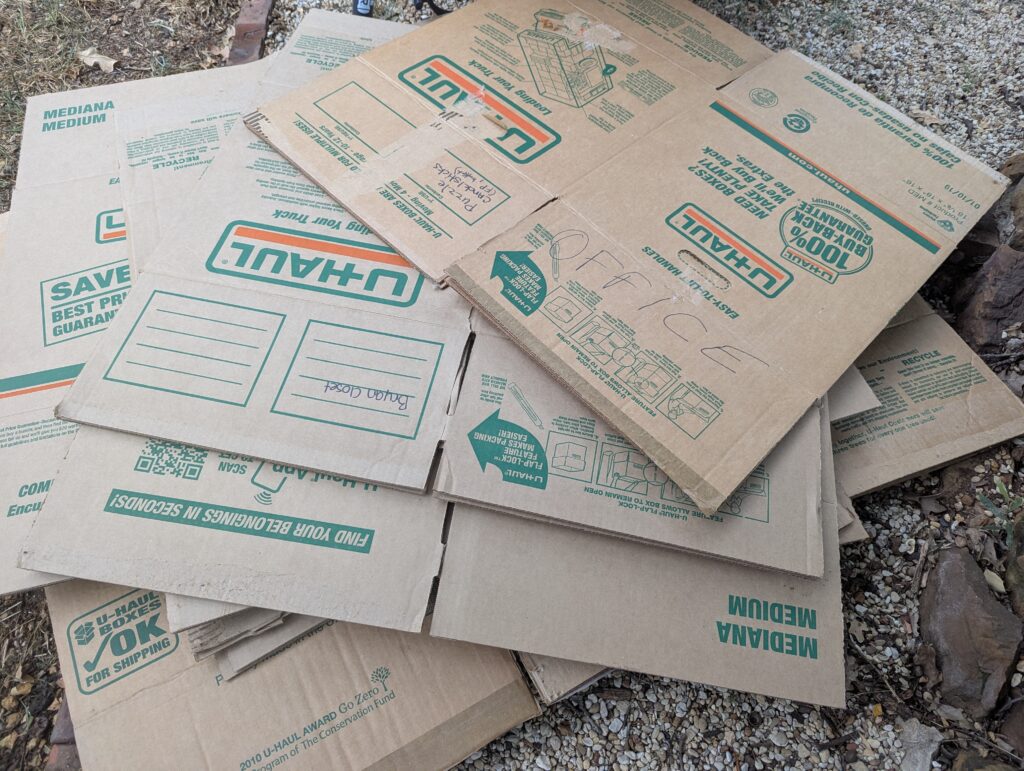
Cardboard boxes: Usually free if saved from deliveries or collected from businesses, or additional cost if purchased
Bricks or rocks: Free if you already have them, or additional cost if purchased
Time & Effort
About 2 hours
Most of the time is spent removing tape from boxes
Best For
Under raised beds
Temporary weed suppression before removing the cardboard
Tip: Save shipping boxes, ask friends, or request large cardboard sheets from local businesses to reduce costs.
Steps
Remove all tape, labels, staples, etc.
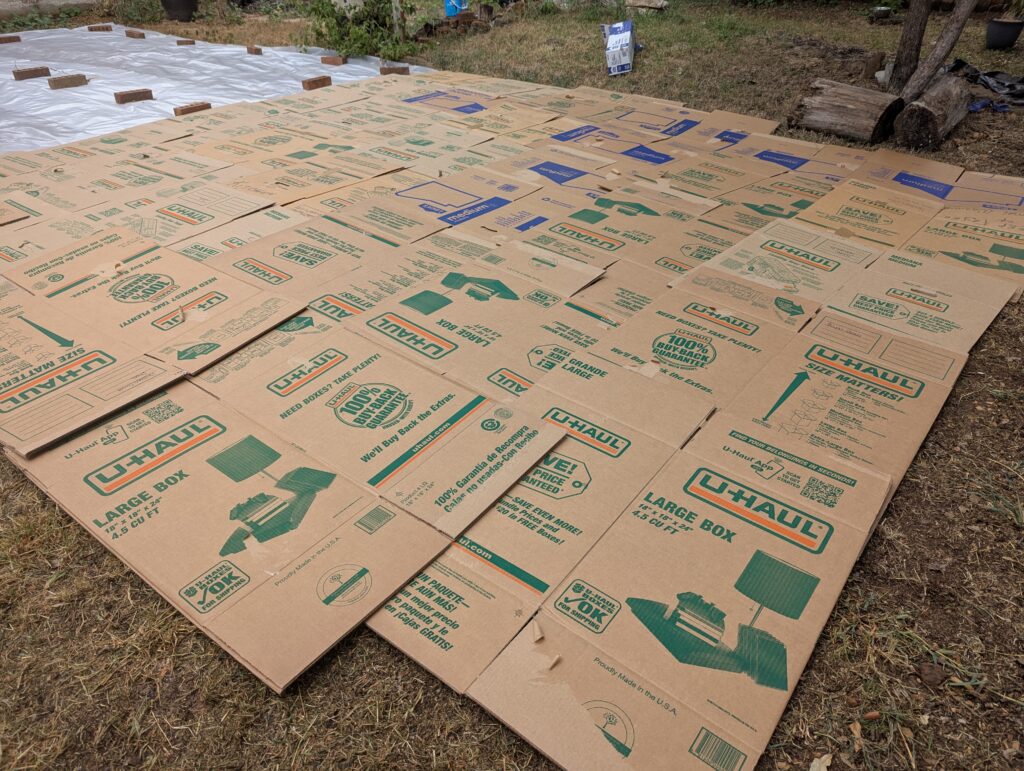
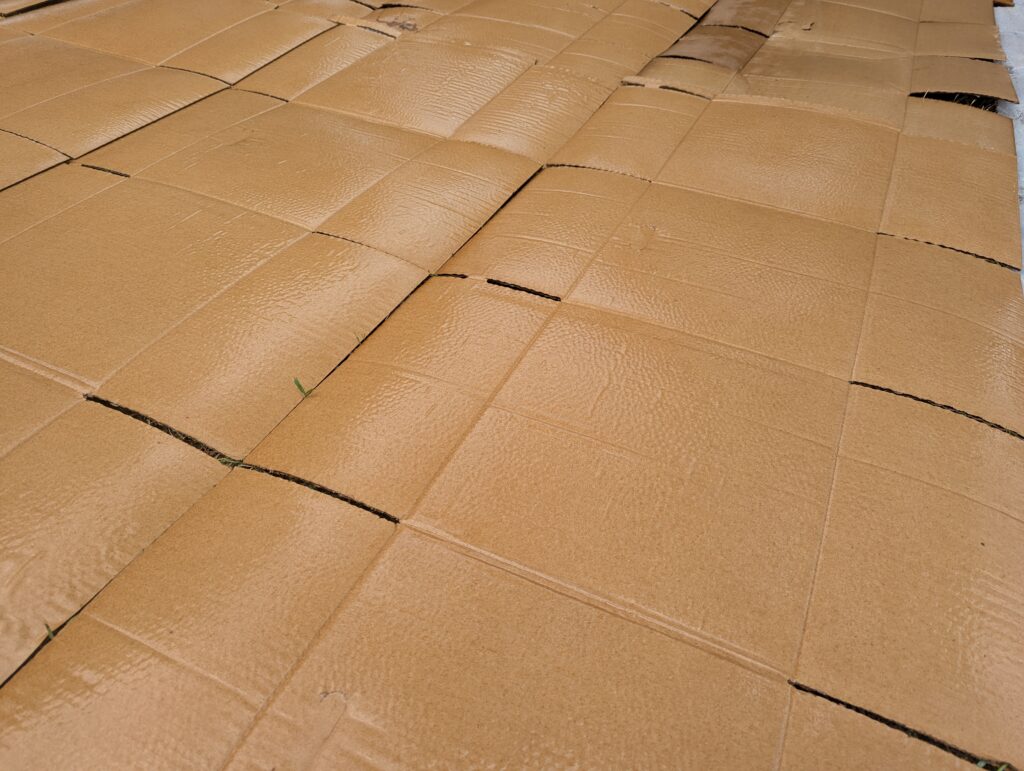
Flatten each box without cutting it apart. The cardboard should remain two layers thick.
Cover the area with at least two overlapping layers, staggering seams like a lattice.
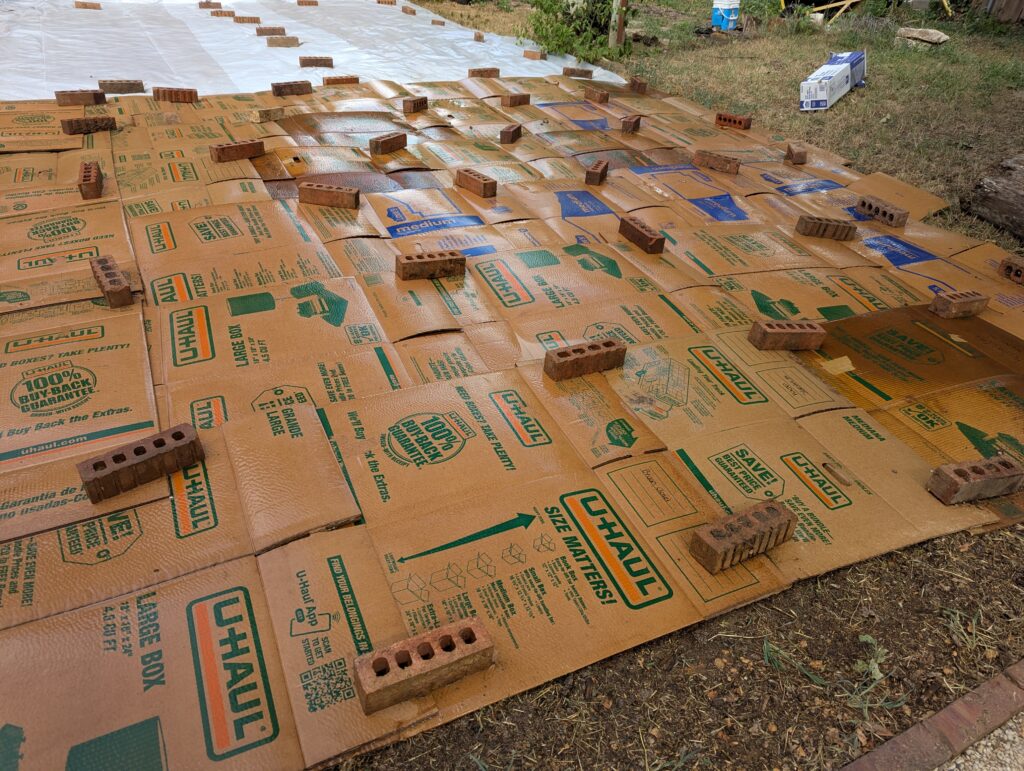
Secure all edges and overlaps with bricks or rocks.
Water thoroughly to help the cardboard settle against the soil.
Re-wet occasionally for cardboard to break down more quickly.
Pros
Can be free
May add organic matter if the cardboard decomposes
Cons
Preparing boxes is time-consuming
Requires many boxes and weights
Final Outcome
Depending on moisture and cardboard thickness, the cardboard may either decompose into the soil or remain mostly intact and need to be removed.
Method 3: Cardboard and Mulch
Materials & Cost
Cardboard boxes: Usually free, or additional cost if purchased
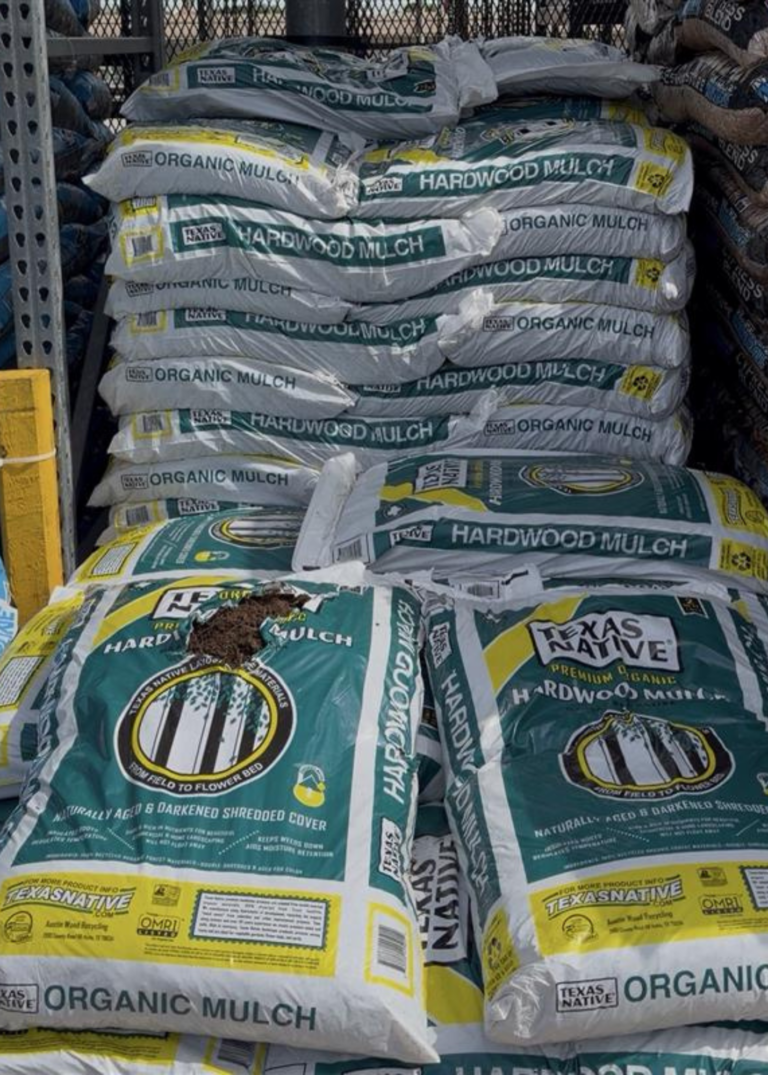
Native hardwood mulch: About $4–5 per 2 cubic foot bag
Time & Effort
About 2 – 3 hours
Requires considerably more physical effort due to moving and spreading mulch
Best For
Mulched pathways
Raised bed installations
Steps
Remove all tape, labels, staples, etc.
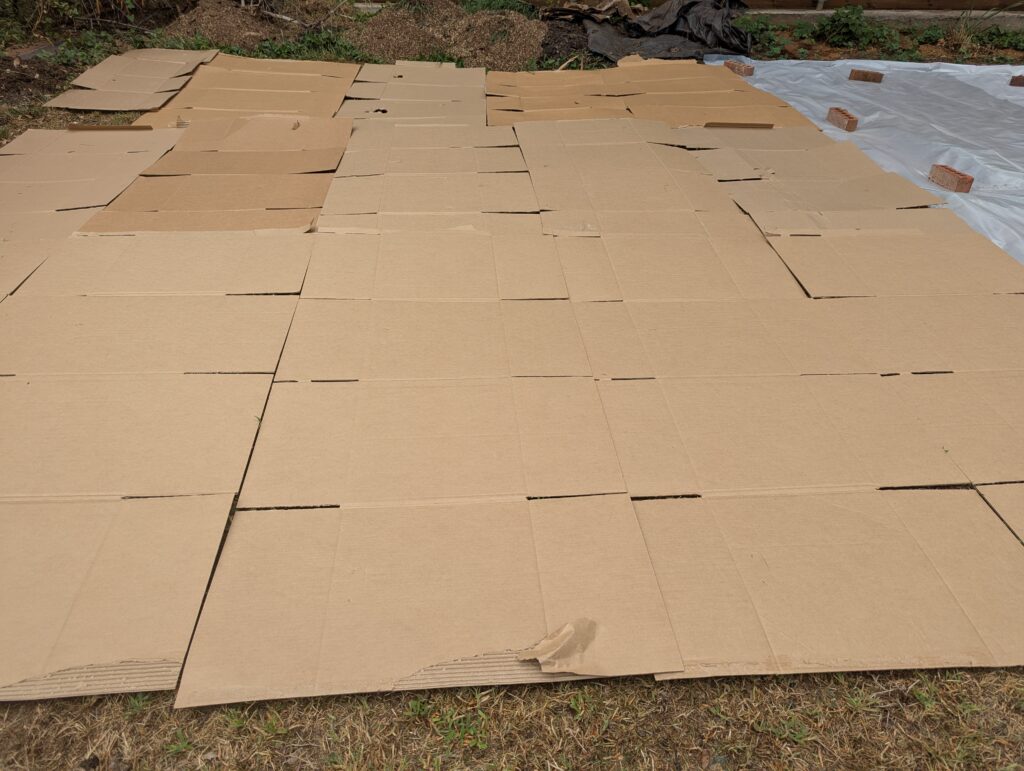
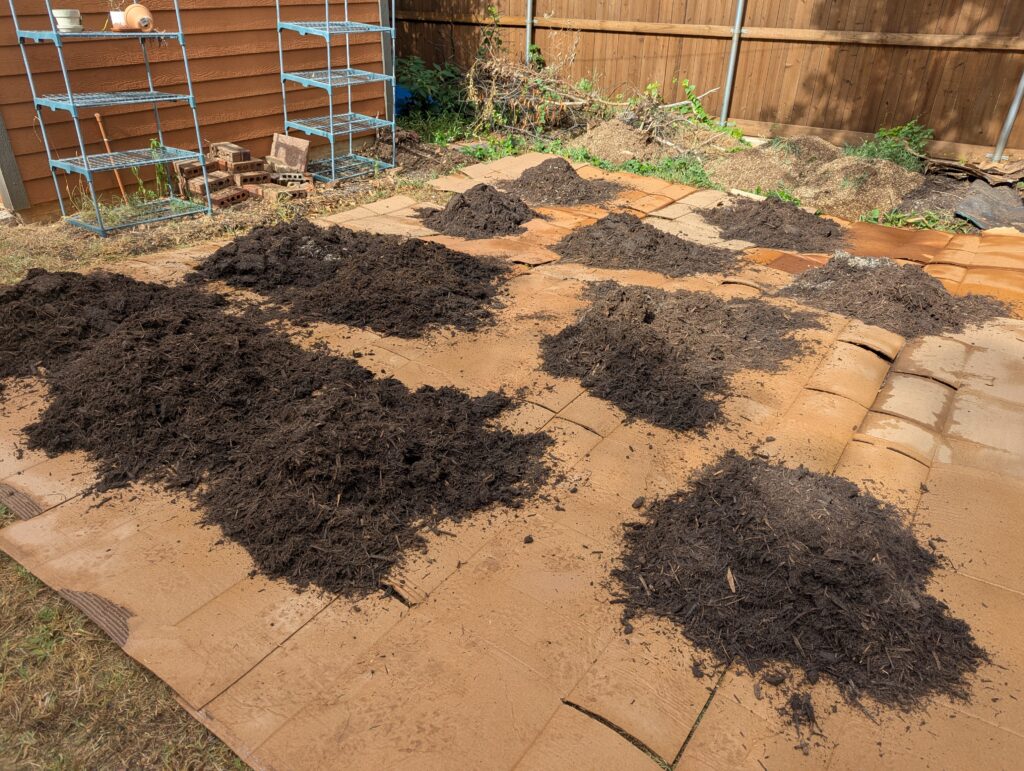
Cut the boxes open and separate them into single-layer sheets before laying them down.
Lay cardboard across the area with overlapping seams.
Water the cardboard thoroughly.
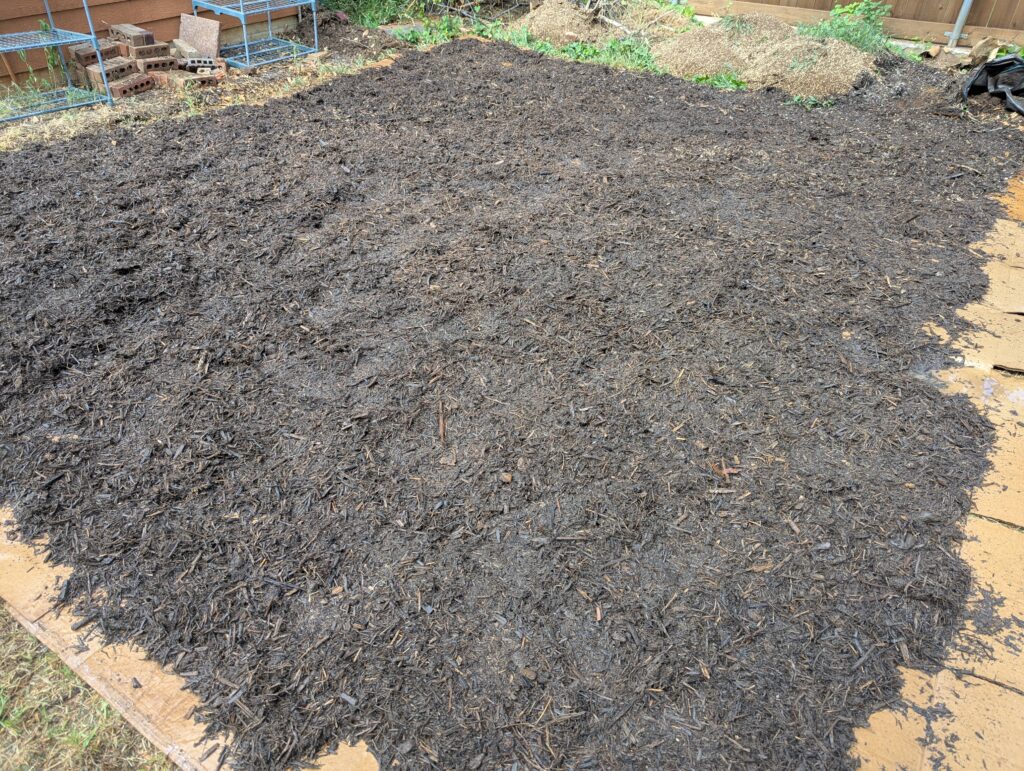
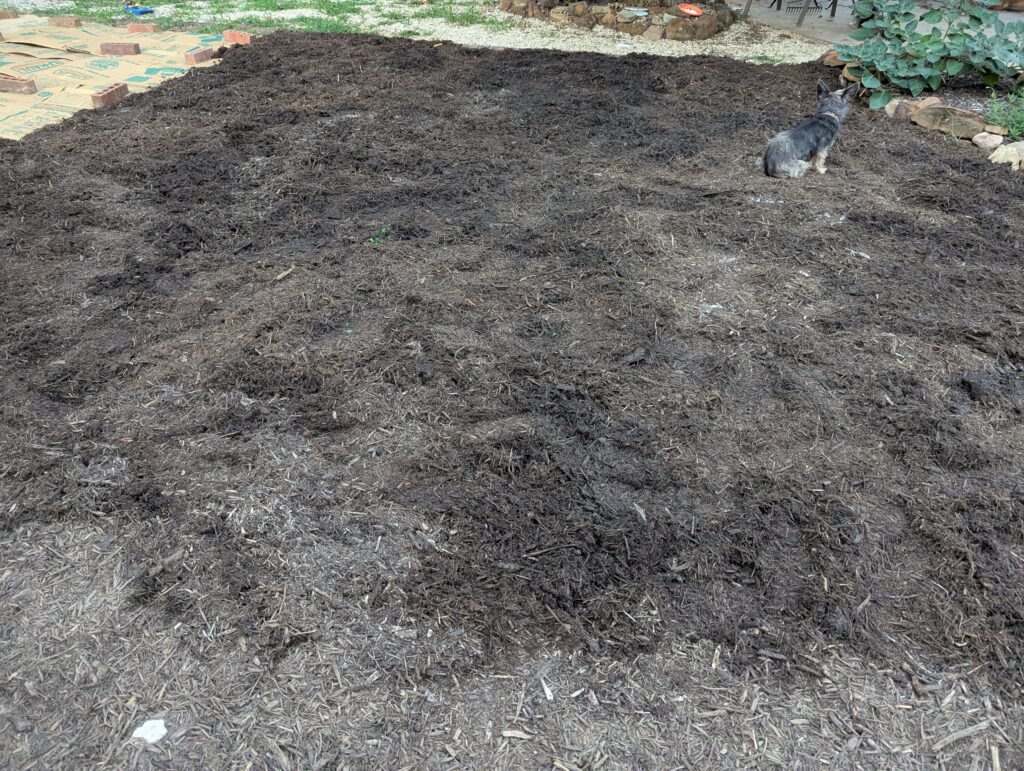
Spread 2–3 inches of mulch over the entire surface.
Water the mulch until fully soaked.
Periodically wetting the cardboard will help it decompose faster, but it is not required for weed suppression.
Pros
Adds organic matter over time
Leaves mulch in place for future beds or pathways
Cons
More physically demanding
Weeds can still germinate in the mulch
Final Outcome
Leaves a finished mulch bed for planting. If the cardboard is still intact when you’re ready to plant, simply pull back the mulch, cut or tear an opening in the cardboard, install the plant, and return the mulch around it. Over time, the cardboard will continue to decompose beneath the mulch.
Mulch Tips
Use a native hardwood triple-ground mulch for a finer texture that spreads more evenly and breaks down faster.
Bulk mulch and chip drops can reduce costs but often contain larger wood pieces and unknown tree species, making them better suited for pathways than planting beds.
Method 4: Mulch Only
Materials & Cost
Native hardwood mulch: About $4–5 per 2 cubic foot bag
Time & Effort
About 2 hours
Requires significant lifting, dumping, and spreading of mulch
Best For
Mulched planting beds
Mulch pathways
Areas where you want mulch to remain after the grass is gone
Steps
Spread 5–6 inches of mulch evenly across the entire area.
Water thoroughly after installation.
Periodically wetting the mulch will help it decompose faster, but it is not required for weed suppression.
Pros
Adds organic matter to the soil
Can be less expensive when using bulk mulch or chip drops
Leaves mulch in place for future planting
Cons
Most expensive if using bagged mulch
Physically demanding
May not suppress weeds as effectively as other methods
Final Outcome
Leaves a thick mulch layer that can be incorporated into the soil or left in place as a finished mulch layer for planting. Some weeds may emerge through the mulch.
Choosing the Right Method
Choose the method based on the final result you want:
Plastic sheeting: Best for creating a clean, bare planting area with minimal cleanup.
Cardboard only: Best when using cardboard as a temporary weed barrier or beneath raised beds.
Cardboard and mulch: Best for future pathways or raised beds where mulch will remain in place.
Mulch only: Best if you want to improve soil over time and keep a finished mulch layer after planting.