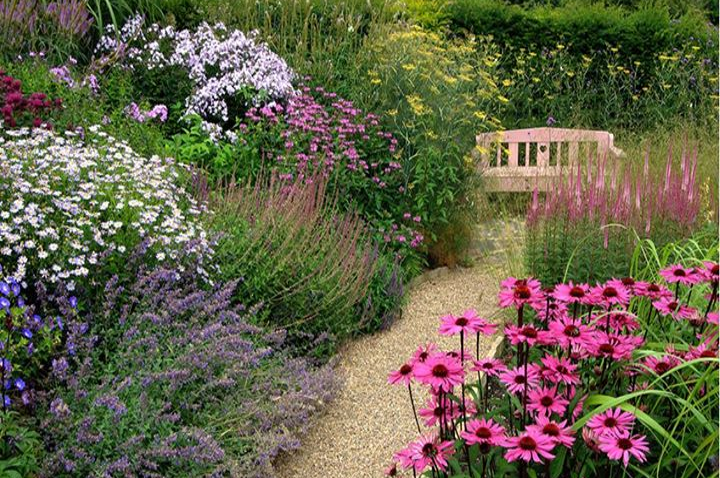
This spring, I took the opportunity of plenty of at-home time to do some gardening projects, including creating a pollinator garden. I removed a 100 square foot section of my turf and replaced it with a garden full of native plants for pollinators to enjoy. I decided to turn this experience into a step by step guide, so others can learn how to remove turf and create a pollinator garden in their own yard. Follow along my journey to see pictures of my garden and get resources I used to plan my design and plant choices.
Step 1: Choose a spot
Think about:
- Full sun – pollinators and flowers like sun
- More than 100 sq ft – Pollinators want to visit somewhere that has enough flowers to get a good meal
- Water source – If you are removing turf, is that area on an existing sprinkler zone? If so, you might want to cap that area off or convert to drip. These plants won’t need as much water as turf.
- Overall shape and size

Step 2: Make a Design
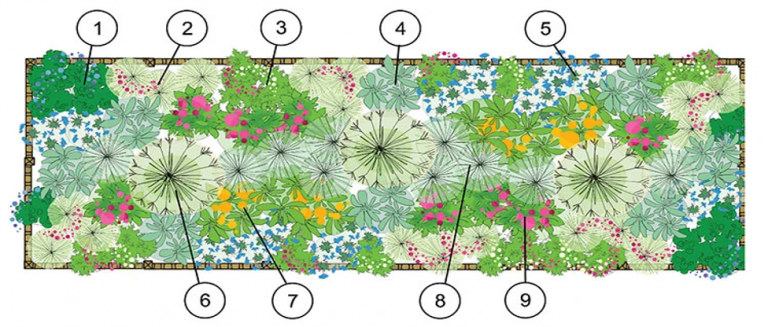
Get a pencil and paper. It doesn’t have to be fancy.
Think about the pollinators first:
- Clump smaller plants together – pollinators like clumps of alike plants, odd numbers look good
- Bare ground/soil/mulch – space for pollinators that overwinter in the ground
- Water source – pollinators like shallow water, a saucer with pebbles for perching is sufficient
- Dead vegetation – space for pollinators that overwinter in hollow reeds or wood
- Houses – bird houses, bees houses, bat houses…build a house for anything you want to attract
Design considerations:
- Taller plants in back or middle
- Shorter plants in front or outside
- Theme? Colors, textures, flower shapes
- Symmetry?
- Look at inspiration!
Step 3: Choose the Plants
- Native plants attract native pollinators. If you plant a lot on non-native flowers, you will mainly attract honey bees.
- Water use – most native plants are low water use, but make sure you know how thirsty your plants are
- Perennials or a mix – don’t plant all annuals unless you want a wildflower meadow
- Make sure you have plants blooming year-round
- Plant a variety of plant types: bushes, flowers, tall grasses
- Plant a variety of flower shapes and plant families

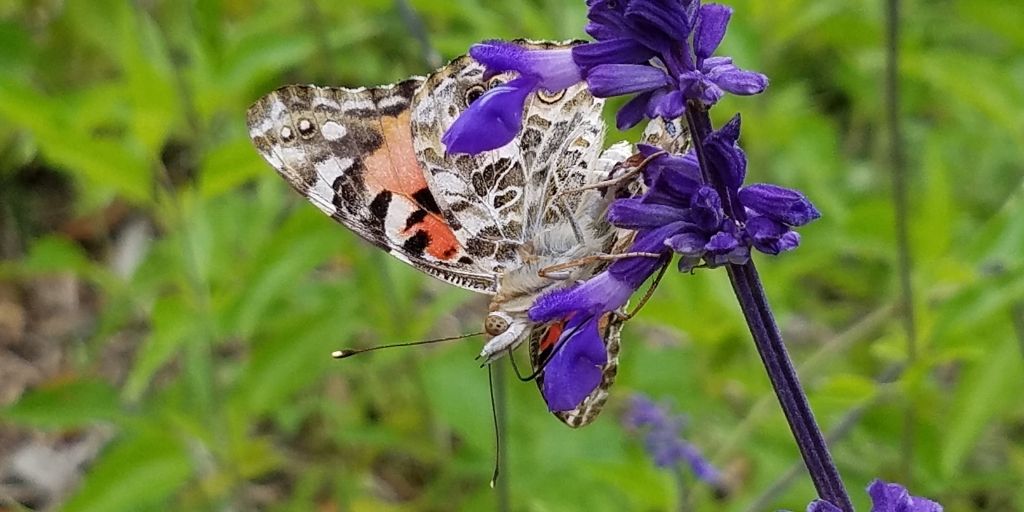
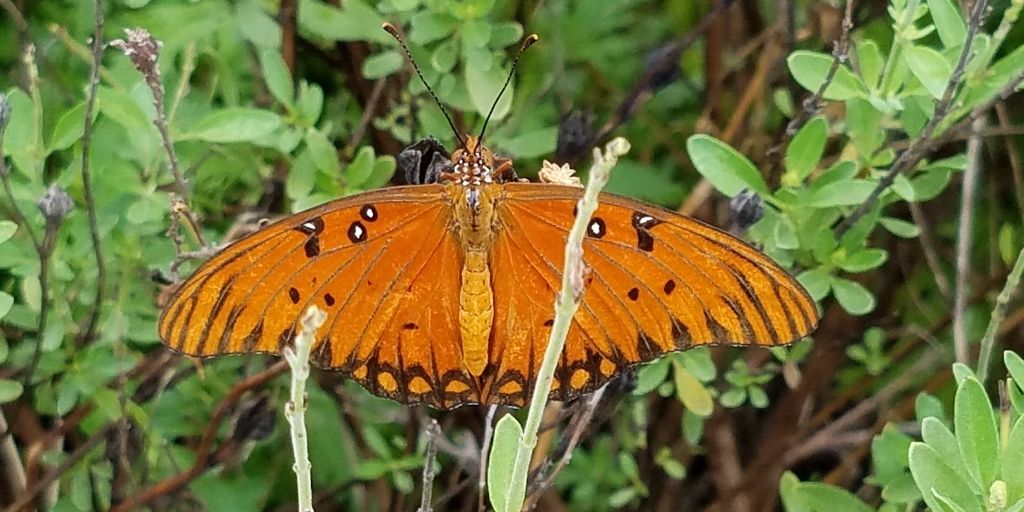
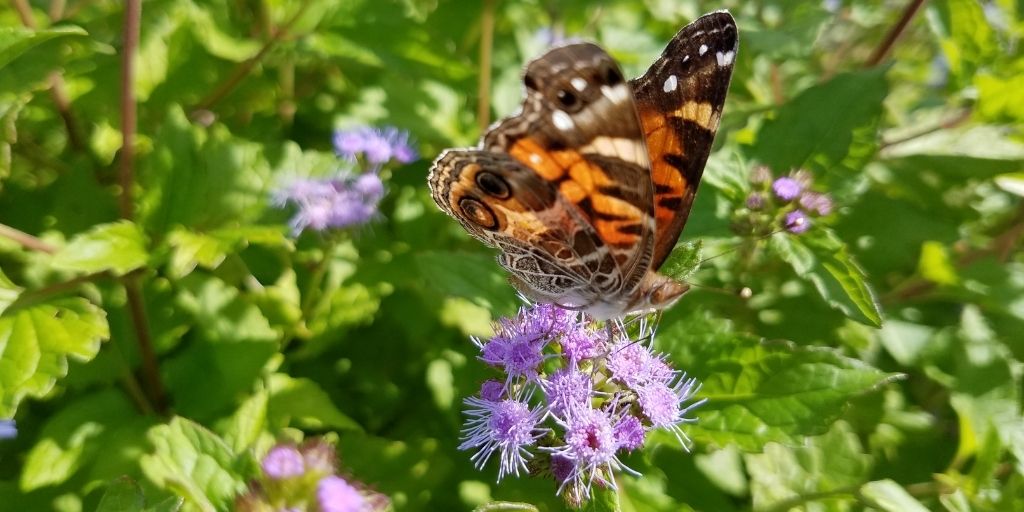
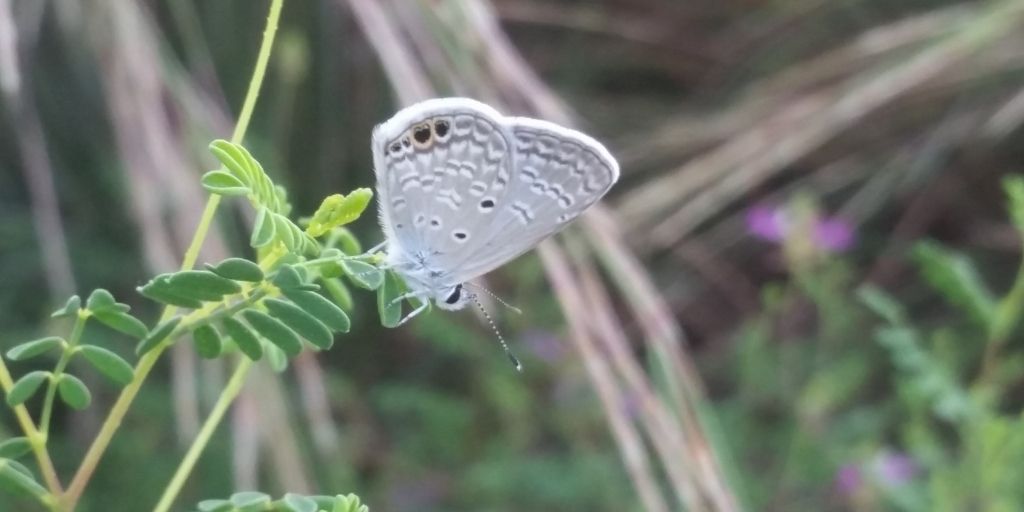
Butterflies need nectar from flowers
- Bright colors, red and purple
- Flower shapes: tubes with spurs, wide landing pad
- Fresh scent
- Nectar Guides
- Rotting fruit!
- Gregg’s/Blue Mistflower, Mealy Blue Sage, Button Bush
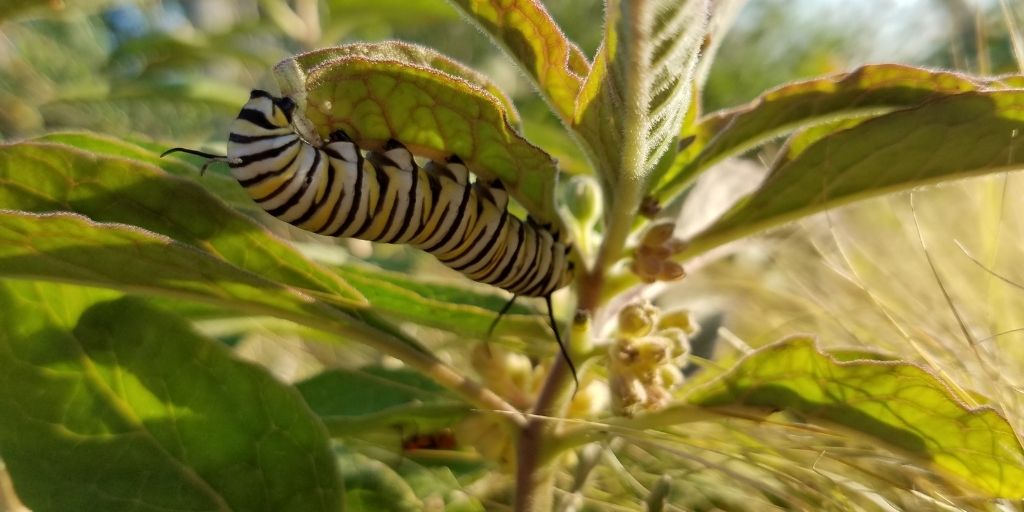
Milkweeds for Monarchs:
- Green – Asclepias viridis
- Antelope Horns – Asclepias asperula
- Zizotes – Ascelpias oenotheroides
- Butterfly – Ascelpias tuberosa
- Fennel for Swallowtails
- Passion Vine for Gulf Fritillary
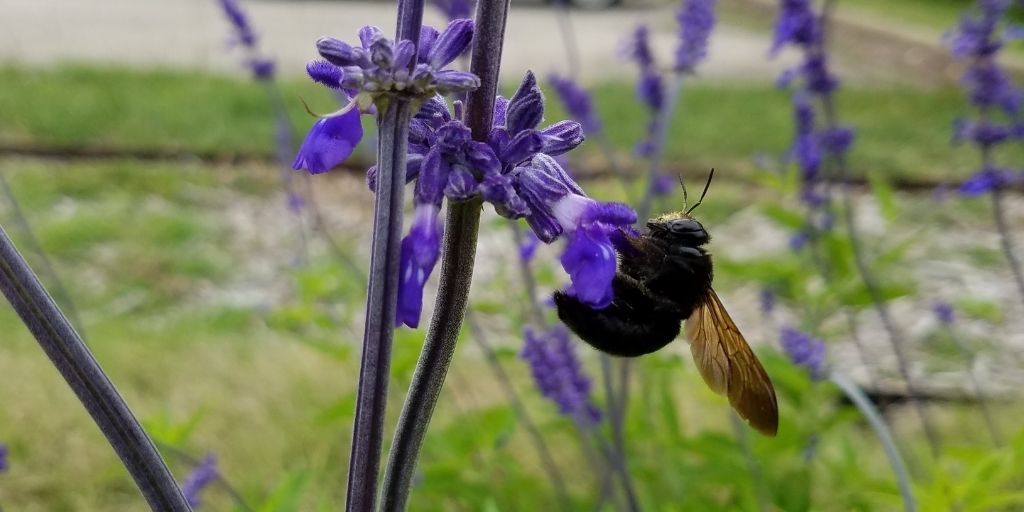
Bees like
- Bright colors, white, yellow, blue, UV
- Flower shapes: shallow with a platform, tubes
- Limited, sticky, scented pollen
- Fresh, mild scent
- Nectar Guides
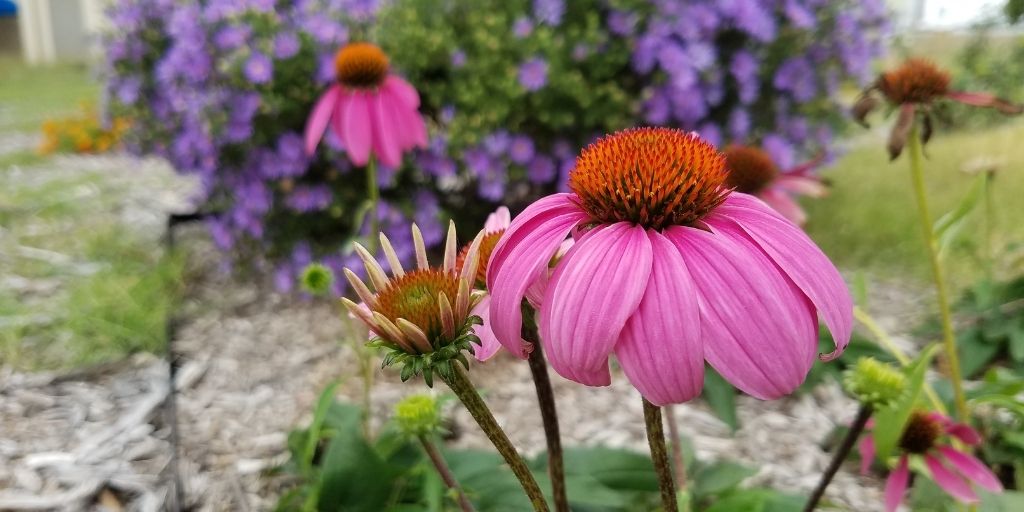
- Mealy Blue Sage, Purple Coneflower, Black or Purple Prairie Clover

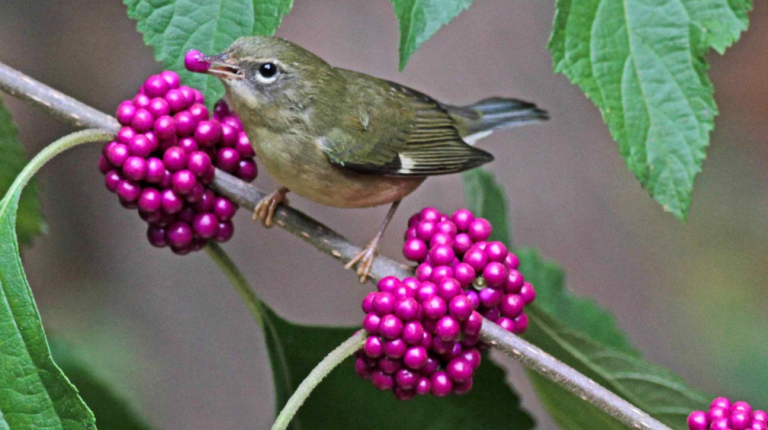
Birds like
- Deep colors, red, scarlet, orange, white
- Flower shapes: large funnels, cups, strong perches
- No scent
- Fruits and seeds!
- Hummingbird Bush, Turk’s Cap, Lantana, Beautyberry

Click here for lists of plants and resources for designing a pollinator garden!
Step 4: Gather Materials
- Tools: shovels, rakes, hand trowel, tiller (hand or other), water hose
- Flat shovel – needed if removing turf (unless you have a turf remover)
- Sharper shovel – needed for digging and tilling
- Compost – enough to cover the area with at least 2-3 inches
- Plants – don’t use seeds unless you want wildflowers or there is specific plant you want that you can’t find
- Mulch – native tree mulch at about 3 inches deep
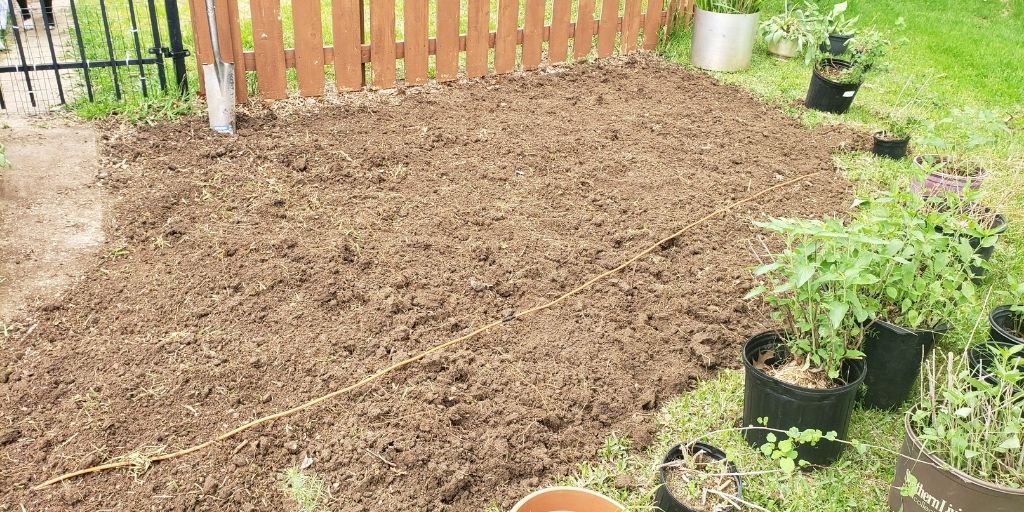
Step 5: Prep Site
- Measure and mark off
- Remove turf
- Solarize with a sheet of plastic or straw/mulch if it is Bermuda, the scrape off the top few inches of grass and roots
- If you have St. Augustine, no need to solarize first
- Put in deep edging if you want to make sure the turf doesn’t creep back in!
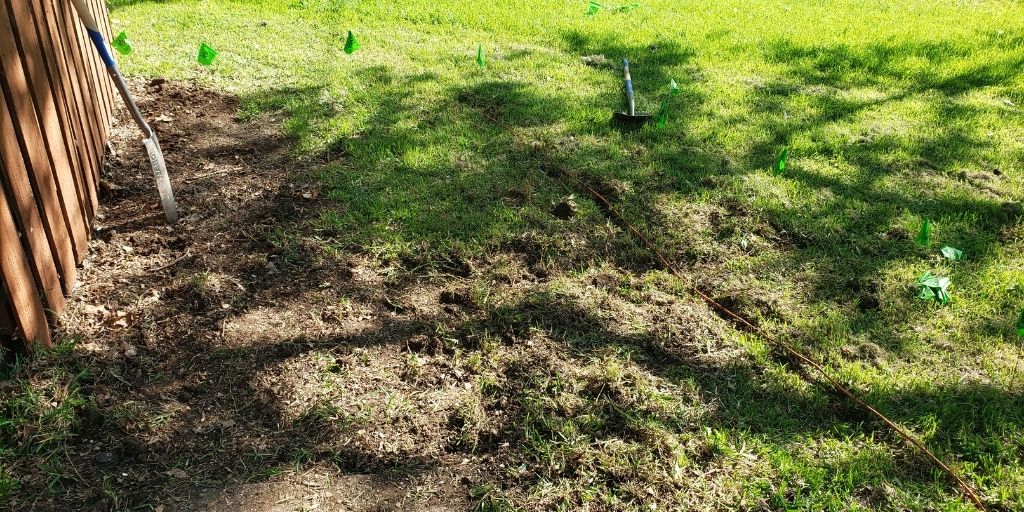
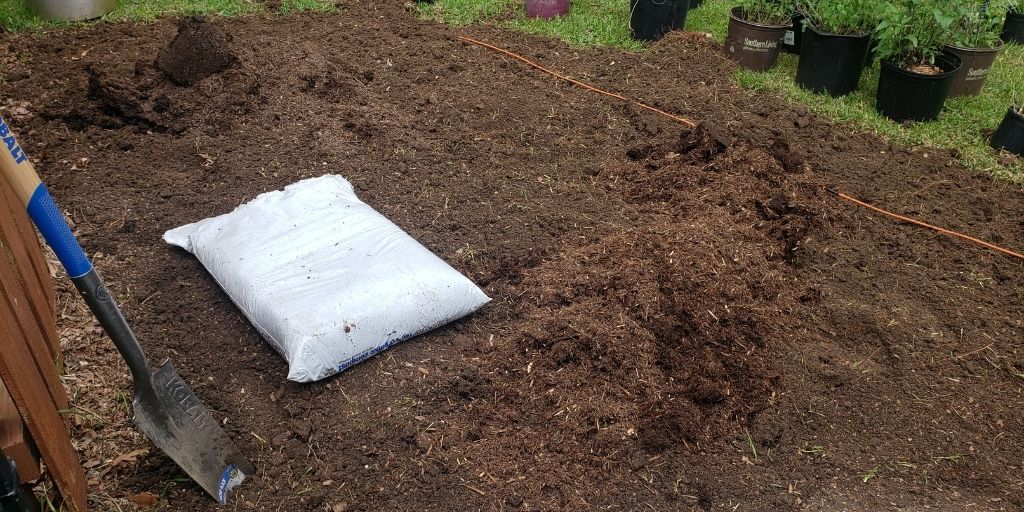
- Till soil, add 2-3 inches of compost on top, till again
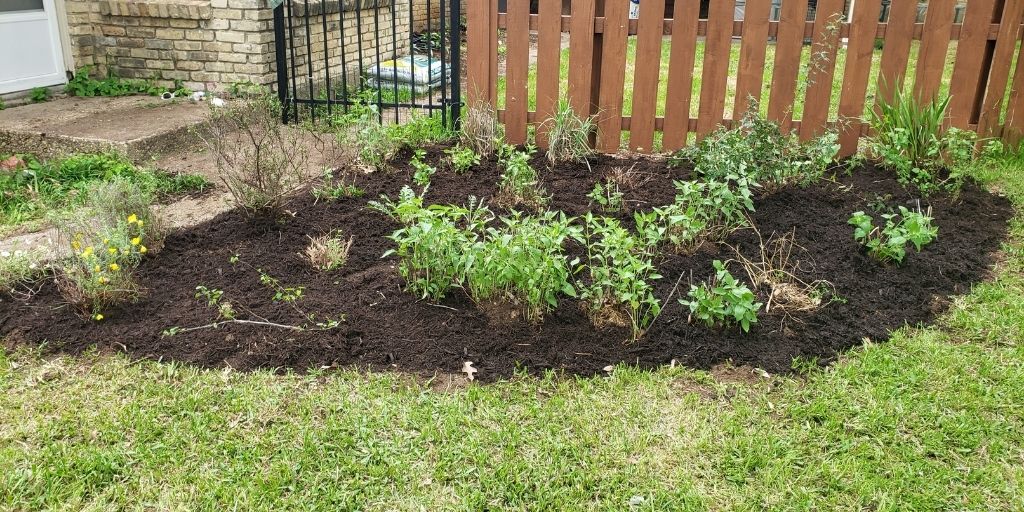
Step 6: Plant the plants
- Lay out the plants for any last minute design changes
- Dig holes and plant the plants
- Break up the roots and spread them out
- Water everything in
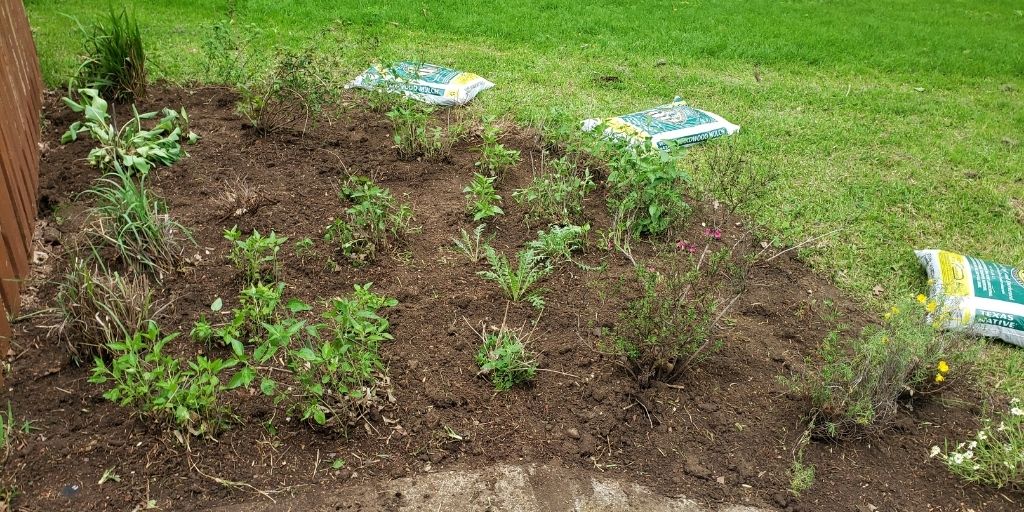
Step 7: Mulch and Water
- Put 2-3 inches of mulch on top, avoiding contact with the plant stems
- Water in very good
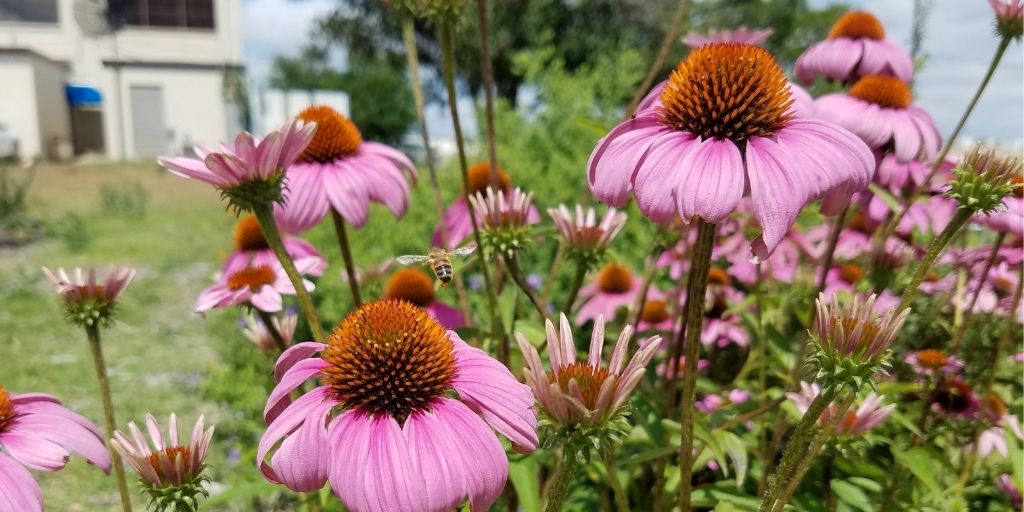
Step 8: Enjoy and Maintain
- Watering
- Next 2 weeks: Water in good and keep moist
- Next 8 weeks: Water 2-3 a week, monitor
- Figure out how much to water for regular maintenance
- Jan-Feb: cut perennials to the ground, prune woody plants, apply more mulch
- Cut off dead blooms during the growing season to encourage more blooms
- More mulch and less space between plants means less weeding
- No pesticides
Heather Bass is a Water Conservation Specialist at Tarrant Regional Water District who focuses on outdoor water conservation and sustainable landscaping through ecologically sound principles. You can reach Heather at heather.bass@trwd.com or 817-720-4432.